Fix disappearing Compiz skydome at login
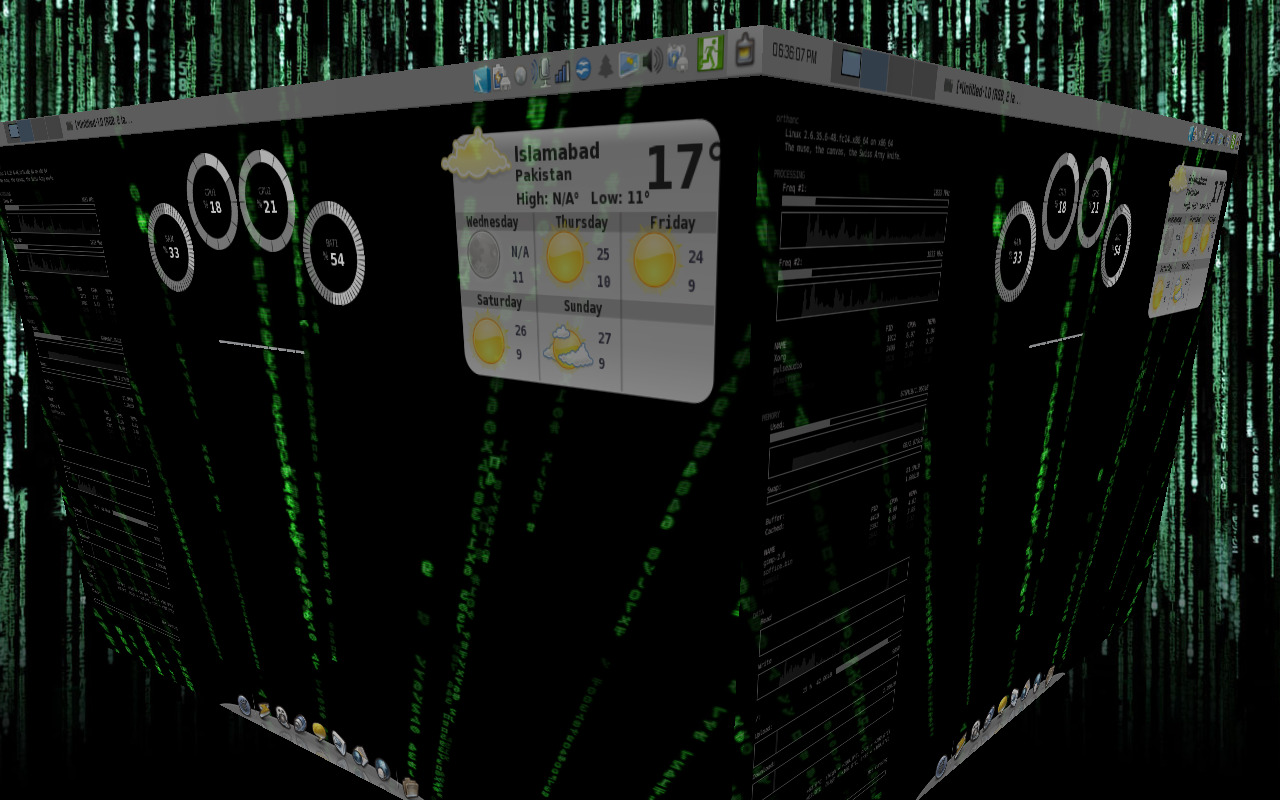
For a little while now I noticed that my Compiz skydome was disappearing whenever I logged in. I could bring it back by disabling and re-enabling the Cube plugin but from a cold-boot I was always greeted to an abysmal looking cube:

(Click on the thumbnail for larger version.)
A little bit of forensics revealed that the issue lied with the loading order of Compiz plugins. At the moment Compiz does not try to resolve any plugin dependencies at startup, so while the skydome relied on the PNG plugin the latter wasn’t pre-loaded — resulting in a blank background.
The solution was to change the following line in config:
[core] s0_active_plugins = core;composite;opengl;copytex;decor;vpswitch;mousepoll;firepaint;gnomecompat;resize;compiztoolbox;wobbly;cube;screensaver;shift;scale;regex;imgpng;splash;place;move;obs;animation;rotate;expo;workarounds;freewins;ezoom;session;staticswitcher; |
To:
[core] s0_active_plugins = core;composite;opengl;copytex;decor;vpswitch;mousepoll;firepaint;gnomecompat;imgpng;resize;compiztoolbox;wobbly;cube;screensaver;shift;scale;regex;splash;place;move;obs;animation;rotate;expo;workarounds;freewins;ezoom;session;staticswitcher; |
imgpng had to be loaded before cube, giving me back the pretty backdrop for all things 3D:
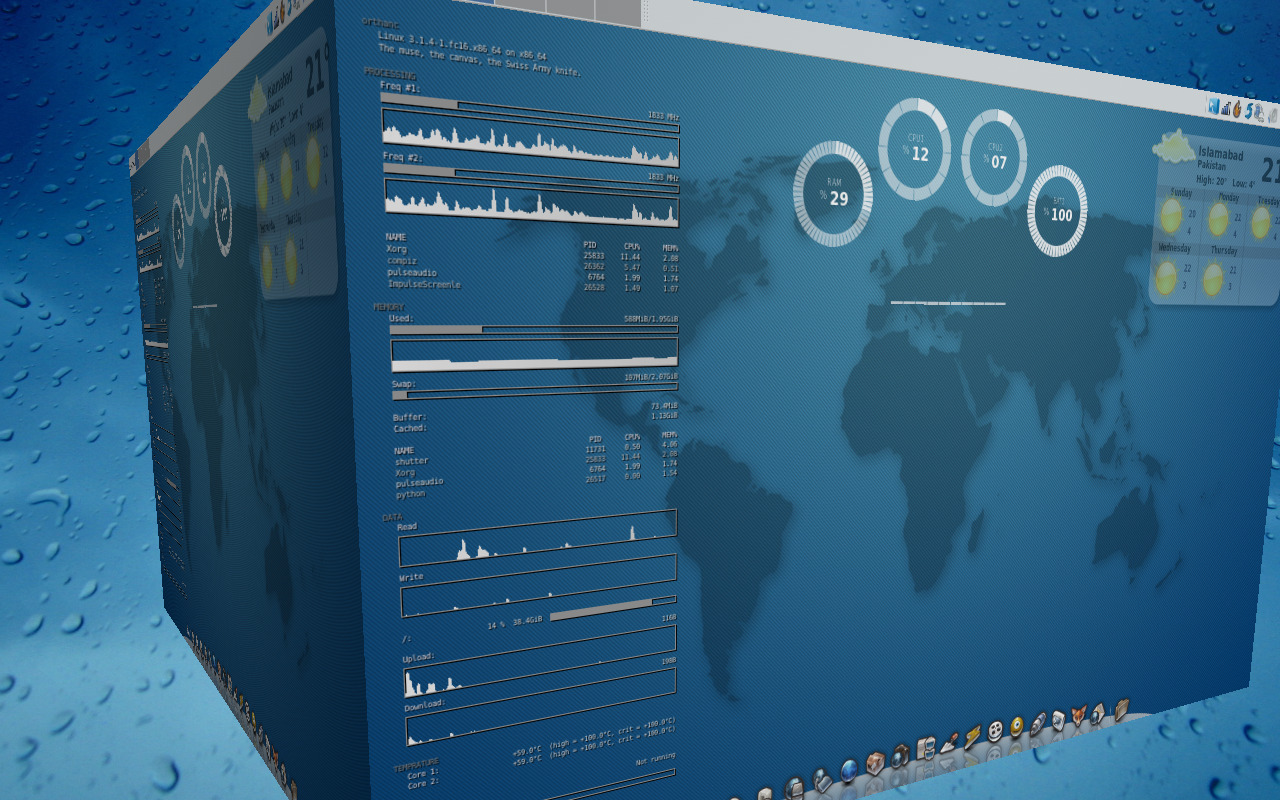
(Click on the thumbnail for larger version.)