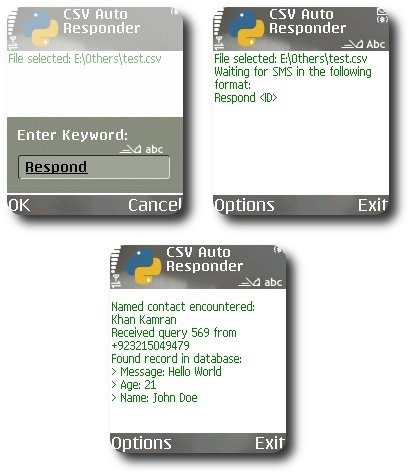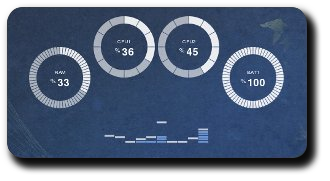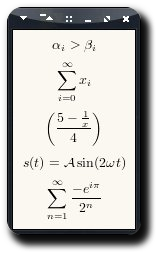
(GUI, Mathematical Equations, Scientific Plotting) = (GTK+, LaTeX, Matplotlib)
GTK+ needs no introduction. LaTeX is the first thing that pops in anyone’s mind if mathematical equations’ typesetting is under consideration. Matplotlib — while not as well-known as the former two — is the super easy and elegant solution for scientific plotting on *nix platforms.
For an application demo, I required all three. Past experience has taught me that the most straightforward way of “gluing” things together is Python. GTK+ therefore = PyGTK. Next up was LaTeX, and a previous solution of mine for embedding LaTeX in PyGTK came to the rescue. The final requirement of Matplotlib was fulfilled without any hassle since the library was already written in Python.
The collective result was pretty:
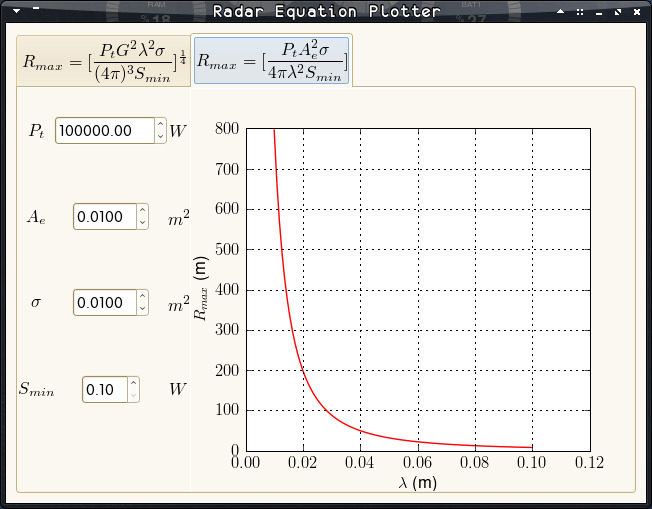
(Click on the image for larger version.)
The linked tarball contains the Python scripts for the application. For everything to run smoothly, LaTeX and Matplotlib packages need to be installed on your system. If you encounter any issues running the code, feel free to flame your distribution for the apparent lack of sanity regarding package management.
Tags: Code, Equation, Flag 42, Graphics, GTK+, LaTeX, Matplotlib, Open Source, Plot, PyGTK, Python, TeX